Overview: This post will show you how to set up QuickBooks Web Connector and use it. It will also provide a solution when you face any issue while installing the Web Connector.
The QuickBooks Web Connector is an outstanding program by Microsoft Windows that allows web services (Web-Based applications) to exchange data with the QuickBooks Desktop. QuickBooks includes the QuickBooks Point of Sale and Financial software. Your web service installs on a web server, which can hosts locally or by an outsider hosting service. QuickBooks also installs on a similar workstation as Web Connector (or possibly on a similar local network). With this blog, we will explain the Web Connector’s setup and utilization process.
Importance of QuickBooks Web Connector?
It is as simple as downloading a file to add a new Web service to the list of Web services with which QBWC can talk. (.qwc files are XML files that specify a Web service meant to communicate with QuickBooks and are automatically opened by the QBWC.) Since it depends on the Quicken One step Update device, clients of Quickens internet banking administrations will promptly perceive the client experience.
Also, read : quickbooks downloads
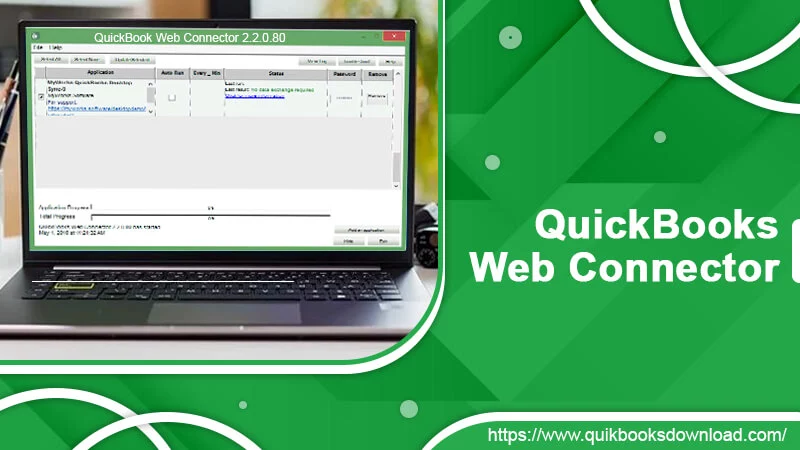
Set Up QuickBooks Web Connector
Since the Web Connector considers itself a specific user, it can run with a single-user license. When you attempt to download and install the QBWC, you will receive a zipped file. QXC acquires using a web application. It will not download as an.exe file, which can run, so you must unzip it to install it. The instructions for downloading and installing Web Connector are as follows; please read them carefully:
Download and Install QuickBooks Web Connector
- First, download and save the QBWC installer to the chosen location.
- Secondly, make a new folder called QBWC and place the installation .exe file in it.
- Right-click the downloaded file and select the Extract Here option to extract the installation file.
- After the extraction gets finished, right-click on the.exe file you want to use.
- To run the installation with full administrative rights, later on, select the Run as Administrator option.
- Now, the security window popup displays, prompting you to run the installation; click Run and continue.
- Follow the on-screen instructions.
- Accept the License Permit and click Continue.
- After installation, click Finish and begin using the Web Connector.
Now, you get your Web Connector is the system. However, go with the next section if you face any error while performing the QuickBooks Web Connector download and installation.
Also, read : quickbooks Desktop To Online
How Does the QuickBooks Web Connector Work?
The Web Connector QuickBooks is a bridge-like program that supports the passing of the qbposXML and qbXML between the QuickBooks or QB Point of Sale and the web-based applications since all the communication exercises maintains by the Web Connector runs on a similar framework as QuickBooks. So there is no necessity to get to the firewall ports.
To integrate with Web Connector, a web service must implement a set of methods provided in the QB Web Connector WSDL. These techniques empower the web service to articulate with Web Connector involving similar qbXML as the Work area SDK and POS SDK do.
However, if you face issues while installing the QB Web Connector, you will find a solution in the next section of the blog.
How to Resolve Web Connector Installation Error?
The QB Web Connector installation error can occur due to various reasons. These are installation issues. If you encounter a problem while installing Web Connector, you can resolve it by uninstalling and reinstalling it. The steps are as follows:
Method 1: Uninstall and Reinstall Web Connector
- To begin, use the Windows+R keys to open the Run
- Now, in the Run box, type Control Panel and press the Enter or OK
- When the Control Panel displays, select the Programs tab, followed by Uninstall a Program.
- Now, choose Web Connector from the application list and right-click to uninstall
- You’ll be asked to confirm the uninstallation; click Uninstall.
- The application will eventually uninstall.
- Delete the QuickBooks Web Connector folders from the specified place as well.
- C:/Program Files(x86)/Common Files/Intuit QuickBooks
- C:/Program Files/Common Files/ Intuit QuickBooks
- Finally, complete step 4 from the download and install section to reinstall the web connector.
Method 2: Add an App to QuickBooks Web Connector
To add an application to the Web Connector, you should initially sign in to QuickBooks as an Admin and afterward to your Intuit Account. You can connect your third-party web application to QuickBooks, assuming that you have its .qwc file. The steps are as follows:
- First, select File, then Update Web Services.
- Second, select Manage Web App
- Choose the app and then click Setup in front of it. You will redirect to the app’s website and have to sign in.
- Then, from the app’s website, select Connect to QuickBooks.
- Finally, launch QuickBooks Desktop and press Done when the Access Confirmation box appears to complete the setup.
The Web Connector has now successfully added your apps. With the following section, we’re getting closer to recognizing how to use the apps.
How to Use QuickBooks Web Connector?
This section will teach you how to organize, delete, and transfer the app. The following are examples:
Manage An App
To manage the online apps, you must first sign into QuickBooks as an administrator and then into your Intuit account. After signing in, proceed as directed.
- Navigate to the File and App Management menus.
- After that, select Manage Web Apps.
- Click the Connected Apps option to see your applications and make changes.
Assuming you need to uninstall an application from the Internet Connector, do the accompanying::
Uninstall an App
The data exchange with QuickBooks Desktop is halted when you delete or remove an app from the QuickBooks Web Connector. Now, proceed as follows:
- Firstly, navigate to the Edit tab and pick Preference
- Second, go with Integrated Applications.
- You must now select Company Preferences.
- Choose the program to delete/remove and press the Remove
- Finally, when the app has been deleted, click OK.
Install the app on your device.
You may quickly transfer your app to another computer for the same corporate file using QuickBooks Web Connector. When you transfer the application, the other system connection will be severed. Also, ensure your QuickBooks Desktop is updated with the most recent release. The steps are as follows:
- Select File, then Update Web Services.
- Select the Manage Web Apps
- To view and edit your app, click Connected Apps.
- Choose the option to Transfer App to My Device.
- The connection will be changed to the new device.
It is supported by different QuickBooks versions, which we will discuss in the next part.
QuickBooks Web Connector Supports
Web Connector 2.1.0.30 and older versions work with all QuickBooks Desktop editions. The QBPOS SDK and QB SDK are capable of supporting these, and they also include the following:
- QuickBooks Premier 2002 and later.
- QuickBooks Financial Software Editions for the United States.
- QuickBooks Professional 2002 and after.
- QuickBooks Enterprise Services Solutions
- QuickBooks Accountant or Pro UK Edition 2003 or later.
- QuickBooks Pro 2003 and later, Premier, or Enterprise Canadian Editions
- QuickBooks Simple Start 2006 and later.
- QuickBooks Point of Sale v4.0 and later.
After knowing all the versions, it’s time to set up the Web Connector with the following steps.
Wrapping Up
The Web Connector application is ideal for connecting to third-party programs in QuickBooks Desktop. You will be able to see all of your apps in one spot. As a result, this blog will walk you through the QuickBooks Web Connector download and installation process. We also walk you through setting it up and organizing it. However, proceed to the installation error section if you face problems while installing the Web Connector. If this does not help, don’t hesitate to contact our ProAdvisors by email or live chat. They will be happy to assist you.
Thank You!